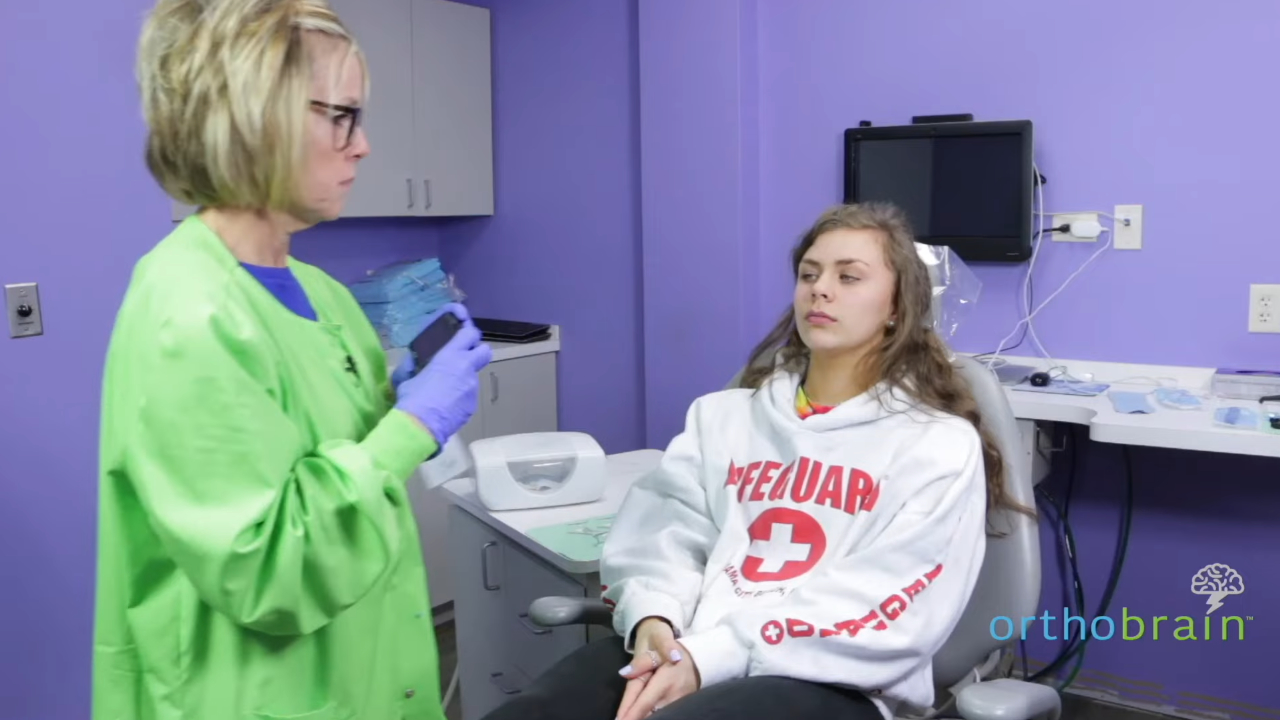
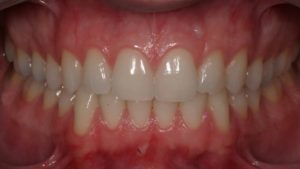
You want to be about seven inches away from your patient. I’m going to have Miss Emily put some lip stretchers in. We’re going to use the larger end first. Can you hold that for me? Thank you. Just put this one in. Good. Can you hold that one for me? Great. Now, bite together and pull out on those for me on both sides and kind of tip them forward a little bit. It kind of lets you see the molars a little bit better, and approximately seven inches away. Good. You want the occlusal plane to be straight, not like that or like that. You want to be straight on. Good. Now, open just a little bit. I want to see the occlusal edges of the teeth and the gum tissue. Good. Now, let’s take those out.
I want to put the larger end on one side, which is the side that we’re not going to be taking the picture of. Can you hold that for me? Perfect. Then we’re going to put this smaller end on this side. Good. Right down. Can you hold this one for me too? Now, I want you to turn your head all the way to the right, and I really don’t want you to pull on the side very much, but I want you to pull way back on this side and turn that way a little bit more. When you take the picture, you want to get half of the other central and at least the first cusp of the first molar. Okay, hold that for me. Now you want to be straight on. You want the occlusal plane to be straight again. You don’t want to be up or down, and make sure that when you angle the camera, you see half of the central and the first cusp of the first molar. Perfect. Okay, now we’re gonna switch them around, put the larger end on this side. Perfect. And hold that. Let’s put this one in and hold that. Good. Now, you’re gonna turn all the way around that way, bite down, and we’re gonna pull really back on this one, and if you can turn just a little bit more, a little bit more. There you go. Same thing; you want to see half of the central and at least the first cusp of the first molar. Good. Now, you can take those out for me.
Now I’m going to take a picture of the top and the bottom. Okay, to do that, I’m gonna use a mirror that’s kind of warm. It won’t burn you or anything, but it’s going to be warm. A couple of things you might want to remember about the mirror: it has to be warm, so there are two ways that work really well for that. You can warm it under warm water or you can use a baby wipe warmer. When you sterilize these, they like to scratch pretty easily, so make sure they don’t bump into anything as they are being sterilized. So, I want you to put the small ends on both sides. Put one here and we’re gonna put one here. Okay, hold those for me. The mirror has to be warm so that it doesn’t fog up when we take the picture. Perfect. Now I want you to take the cheek retractors and angle them up towards the corner of your eyes like that. Alright, I’m gonna place the mirror in your mouth and hold it so that you can see the molars, the very last molar, and tip your head back for me just a little bit. We kind of want to focus on the teeth and then move the camera down just a little bit. Perfect. Now, we’re gonna do it the opposite way to pull those down. Good, and tip your head back again. I’m gonna flip the mirror over. Tip your head way back. Perfect. You can see the first molars. Perfect. Good. Alright, I’m going to take these from you. Before you let the patient go, make sure that your pictures are excellent because you want to make your doctor proud.

