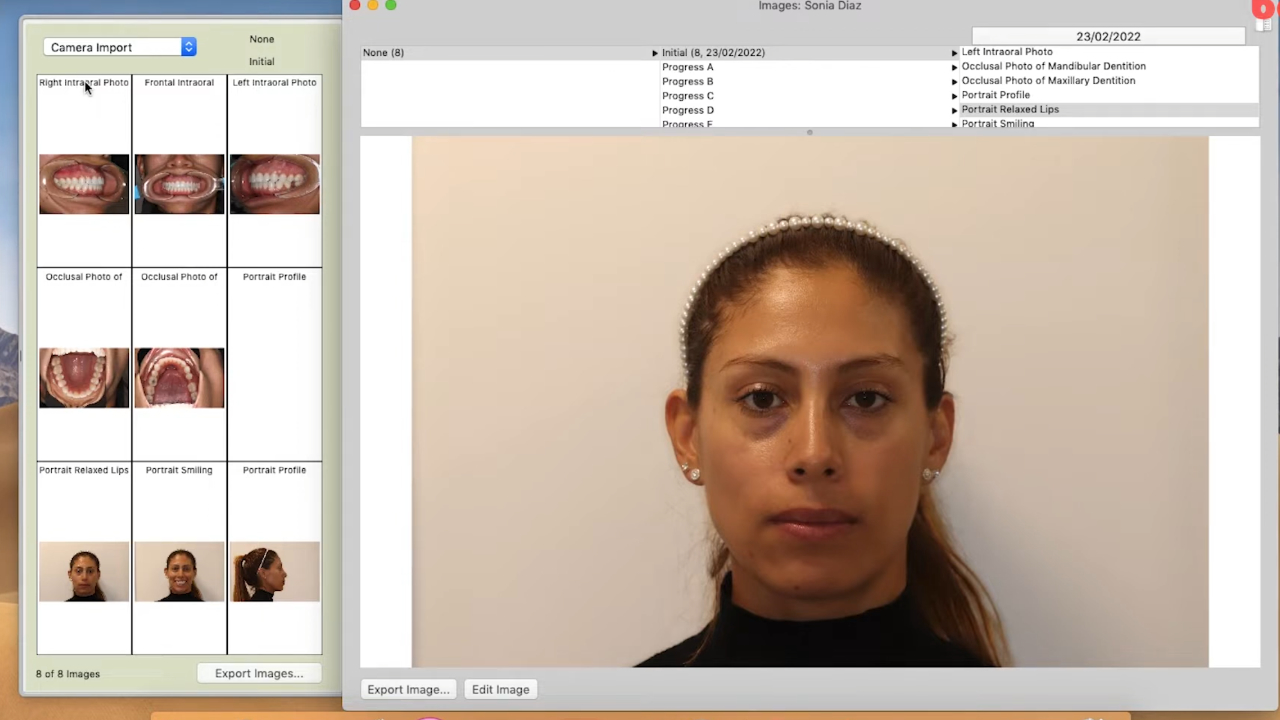
We’re using our software, which is Tops Ortho. I’ve already uploaded all the photos into their corresponding titles. We have intra-oral photographs, occlusal photographs, and three extra-oral shots. You can edit these photos using PowerPoint, Keynote, or external editors like Adobe or JPEG, and then import them into your PowerPoint documents.
Let’s start with the portrait with relaxed lips for our extra-oral shots. When editing the image, we like to square it first and then zoom in. Ensure both ears are equally visible, and the line runs across both eyes. Adjust it so the nose is centered in the photograph and save it.
For the portrait profile, make sure the patient is resting and looking straight ahead into the distance. Ensure both ears are equally projected.
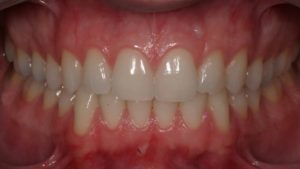
Now, let’s move to the intra-oral photographs. Here, the occlusal plane should be parallel to the floor. Zoom in, center the image, and save it. For right and left intra-oral photographs, zoom in and aim to get the canine in the center of the photo. Capture the first molars and part of the second molars, if possible. Maintain a parallel plane to the floor.
When editing occlusal shots of the maxilla and mandible, remember you’re looking at a picture of a mirror, so flip the image first to view it as though you were looking in a patient’s mouth. Edit the photo to remove the top teeth, center it, and, if possible, have the line running between the lower central incisors. Save the edited images, and that’s how we edit our photos.


