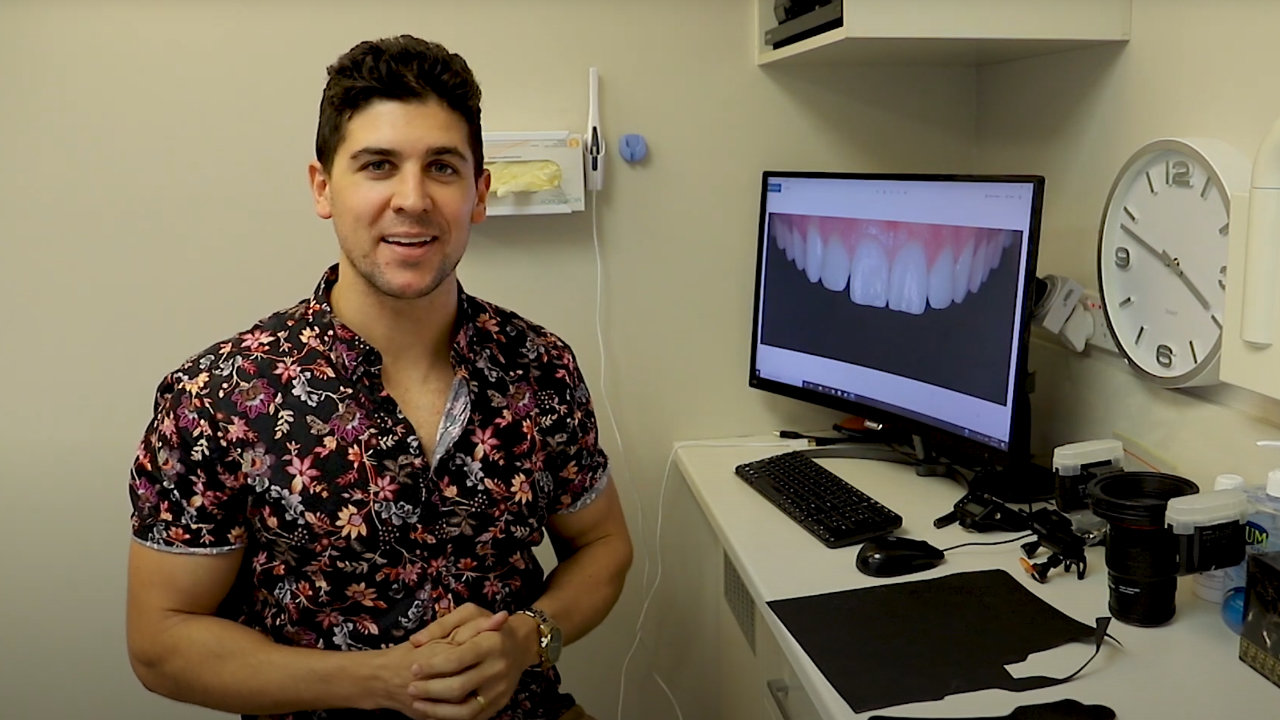
Hey everyone, Dr. Paul here. A lot of people have asked me how to achieve that black background in our interior shots. So in this video, I’m going to cover the essentials, the method, and some tips to get the desired shot. When I used to see these photos on social media, I wondered how they achieved that black background. Turns out, it’s simpler than I thought. You position a black piece behind the teeth using cheek retractors, and that’s it. There’s no high-tech trickery involved. So, let’s get started.
Most often, that black background is achieved using a dental contraster. These can be purchased from reputable dental imaging companies, costing around $100 to $200. But there are cheaper alternatives. You can use a metal or cardboard contraster, and I’ll show you how to create those. The metal contraster scratches easily, while the cardboard version is single-use but produces good results.
To use the metal contraster, place retractors inside the cheeks, pull them up and out to ensure they’re not covering the teeth, then position the contraster behind the teeth and take the shot. For the lower teeth, the process is similar. For the cardboard contraster, trace the shape, cut it out, and position it as before. The image quality is good, but reflections may be an issue.
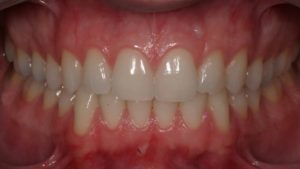
Now, if you don’t have these materials, you can achieve a black background using your computer. For this, take an image of the open-mouthed patient with retractors, capturing plenty of gum area. Transfer the image to your computer and use software like Microsoft PowerPoint or Lightroom.
In PowerPoint, insert the image, crop it, and then use the „Remove Background“ option. Mark areas to keep and remove, then set a solid black fill for the background. Crop the image to your liking, save it as a picture, and you’re done.
In Lightroom, import the image, crop it, and use the adjustment brush with specific settings to paint over the areas you want to turn black. Adjust the brush size and enable „Auto Mask“ for precise work. Export the image when you’re satisfied.
Remember, ensure the patient opens wide enough for differentiation, clean the contraster thoroughly, and have them lift the retractors high to avoid interference. The more gum area visible, the better the result.
Thanks for watching, and feel free to like, share, comment, and subscribe. Keep on smiling!


