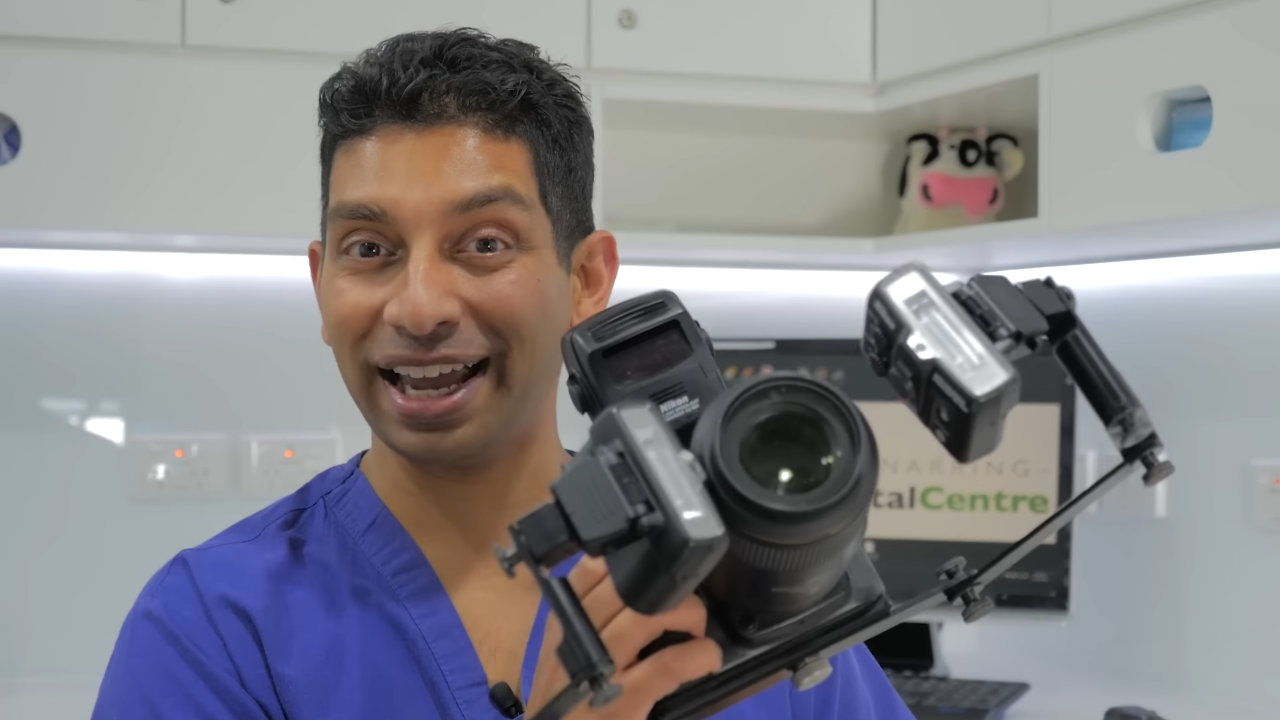
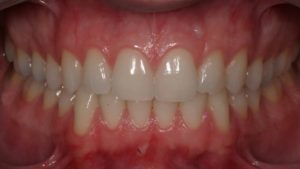
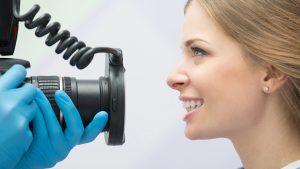
In this video episode, Dr. Tiv discusses camera settings for dental photography. He covers four main settings: ISO, shutter speed, aperture, and flash settings.
ISO is the sensitivity of the camera’s sensor and can be set to a range from low sensitivity (e.g., 100) to high sensitivity (e.g., thousands). For sharp dental images, Dr. Tiv recommends setting the ISO as low as possible, preferably between 100 and 200, to avoid graininess or noise.
Shutter speed determines how long the sensor is exposed to light. A faster shutter speed (e.g., 1/200th of a second) is preferable to avoid blurriness caused by shaking when capturing close-up dental images.
Aperture controls the amount of light the lens allows into the sensor. For dental photography, a smaller aperture (higher f-stop number, e.g., f/22 for SLRs or f/8-11 for mirrorless cameras) is recommended to increase the depth of field and keep more elements in focus.
The light for dental photography comes from flashes, and Dr. Tiv mentions two types: dual point flashes and ring flashes. To ensure consistent color representation, he advises setting the flash to manual mode and adjusting the intensity based on the required lighting.
In summary, for optimal dental photography, Dr. Tiv suggests using a low ISO (100-200), fast shutter speed (1/200th of a second), small aperture (f/22 for SLRs, f/8-11 for mirrorless cameras), and using the flash in manual mode.
Dr. Tiv teases about an upcoming video where he will share a simple camera setting that will help capture beautiful patient communication photos quickly and easily. He encourages viewers to subscribe to his channel to receive notifications about future videos.


