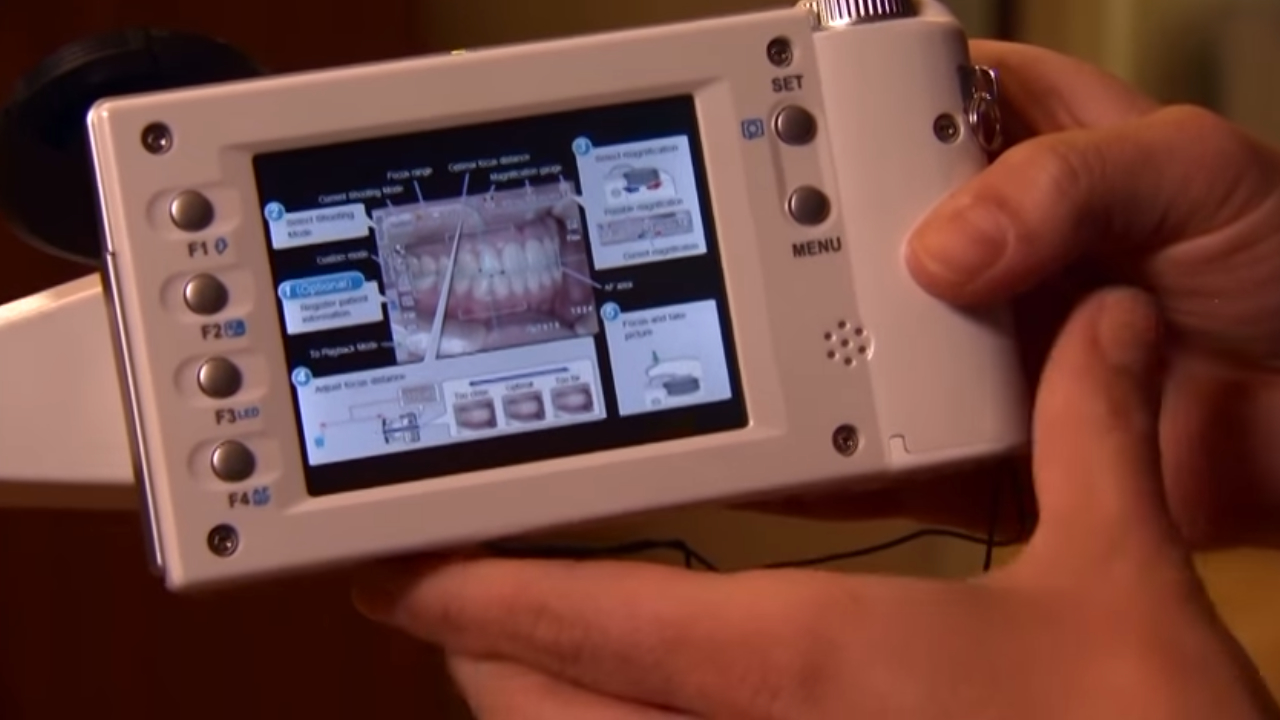
For the occlusal shot, you’ll need to turn on the camera and touch the touchscreen. Then, go to mode and select the mirror mode. Once in mirror mode, the camera is set up and ready to go. You should position yourself around 12 inches away to capture a good shot.
To take occlusal shots, you’ll need a mirror with a handle for easy handling and a specific retractor designed to pull the upper lip away from the area you’re photographing. This helps keep the upper lip out of the picture. If using metal or smaller retractors, patients may inadvertently pull their lips into the shot.
When taking the picture, start by placing the mirror against the lower occlusal plane. Ensure that the camera isn’t raised yet, as you need to check if you can see what you want in the mirror first. Once you’ve confirmed the view in the mirror, bring the camera into position and take the shot. This approach ensures consistent mirror shots every time.
For mandibular occlusal shots, use the same retractor to gently pull the lower lip away from the lower teeth. Let the patient assist in this process, allowing the assistant to work alone. Place the mirror against the upper teeth or the upper occlusal plane, pivot it to capture the desired teeth in the mirror’s reflection, adjust the camera angle for a clear view, and take the shot. By following these steps, you’ll achieve consistent occlusal shots every time.

