In this video, we’ll discuss editing dental photographs, covering camera basics and settings for patient photos. You can use various editing software options; I prefer Adobe Lightroom for its simplicity and efficiency. Make sure your software supports editing exposure and cropping. Shooting in raw format provides flexibility in editing.
Adobe Lightroom offers a straightforward workflow. Import photos, select your best shots, and rate them. I use a 5-star rating for keepers. After edits, export as JPEGs. A smooth workflow is crucial to avoid discouragement.
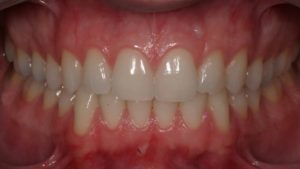
Now, let’s dive into editing. Here are some sample photos. Composition matters; ensure eyes are level. Adjust exposure carefully, especially highlights. Raw format allows more editing without loss of quality.
Consider using a lightbox for a cleaner background. Align eyes in profile shots. Editing can work wonders, even with initial imperfections. Remember, an efficient workflow is key to successful dental photography.


