Hello and welcome to yet another video from the Comprehensive Dentist. My name is Dr. B, and in this video, we are continuing our discussion of what makes a quality image. In previous videos, we talked about proper exposure and sharp focus. If you haven’t watched those videos, I will put a link to them in the description down below.
In this video, we will discuss the last and final factor that makes for a quality image, and that is correct composition.
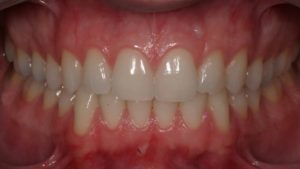
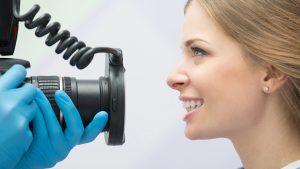
Simply put, composition is capturing what you want to see and not capturing what you do not want in the photo. You are composing the image to be correctly oriented. If you get composition correct while taking the photo, it eliminates the need for a lot of post-cropping when you edit the photo. The nice thing about dental photography is that you don’t have to nail the composition when you take a photograph; you can crop the image later. In my personal experience, you can take perfect pictures of your patients with minimal editing, but it will take time and won’t be the most straightforward task.
Composition involves magnification ratios, which represent size comparisons between real-life subjects and how they are captured in a photograph. You can adjust magnification ratios by setting them on the lens. These ratios work like this: if you have a subject that is one inch long in real life and you set the magnification ratio on the lens to one-to-one, the inch object will be one inch on the photograph. If you shoot at a one-to-four ratio, the object will be four times smaller in the picture than in real life. Adjusting the magnification ratio doesn’t change focus; instead, you move closer to or farther away from your subject until it’s in focus.
Using magnification ratios is optional but can be helpful. You can still crop your photos when editing, so using magnification ratios isn’t always necessary.
In summary, we’ve looked at three primary factors that contribute to quality images: proper exposure, sharp focus, and correct composition. Now that you understand these different camera settings and basic photography, you’re ready to start setting up your camera and taking photos. Don’t worry if you’re still a little confused about aperture, shutter speed, and ISO; with practice and commitment to learning, you’ll become a great dental photographer. You can use the same information to take pictures of other subjects as well.
If you found this video useful, please hit that like button and subscribe if you haven’t already. In the next video, we will look at camera settings for dental photography, specifically using a Canon camera, but you can easily apply this information to Nikon as well. Thanks for watching, and I will see you next time.


