The first question we should really consider here is why do we use dental or clinical photography? Is it really worth the bother? Well, I definitely think it is. First of all, photographs can be a very valuable part of your patient record, which can help with medical-legal issues, diagnosis, treatment planning, and monitoring. Photographs can be useful for patient education and liaison with other members of the dental team. As a young dentist, it’s great to get stuck in with using a camera. It can start building up a portfolio of all your cases.
The type of camera most suitable for this purpose is an SLR (single-lens reflex) camera. This will give you the best image quality, close-focusing ability, best illumination, and manual controls. There are lots of different brands available, but it’s really personal preference. A lot of people will choose common brands such as Canon or Nikon, as the likelihood is that someone around you will be able to help you if you need help. The best thing to do is to visit a camera shop and test out the range for yourself.
So, what should be on your shopping list to start with? You need a body. Each brand has several SLR bodies available. If dentistry is your only use, the body doesn’t really matter as long as you go for the most affordable. The crucial component is the macro lens. You have a number of fixed focal length options: 50mm, 60mm, 70mm, or 100mm macro lens. Personally, I prefer the 100mm as it’s more convenient for close-up shots. Make sure you check your lens is compatible with the chosen body.
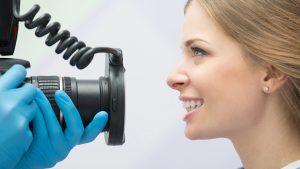
The mouth is a very dark place, and a flash is imperative. There are two types of flash: a twin or a ring flash. The ring flash is recommended as it gives you a crisp, shadowless image. In fact, the ring flash was invented in 1952 specifically for dental photography.
You then need your memory card and spare batteries. At this point, you’ve probably spent around a grand or grand and a half, and the bank account may be looking a little empty. However, one additional item you do need is a good camera bag to look after everything.
Other accessories that may be available to you already are retractors, mirrors, and contrasters. Alternatively, you may also want to invest in these. Retractors can be metal or plastic and can vary in curvature. Mirrors can come in various sizes and shapes but generally are either buckle or occlusal mirrors. A contraster is not essential, but if you’re doing a lot of aesthetic cases, then it can help draw attention to the tooth shape, show translucent incisor wedges, and also remove distractions of the mouth.
Now that you’ve got the kit, let’s look at the settings. Manual focus is more accurate for macro work. The aperture, also known as the f-number, influences the depth of field. Suggested f-numbers for various shots are displayed. You should also use an ISO of 100 or 200, a shutter speed of approximately 1/160, and the white balance should be either automatic or flash.
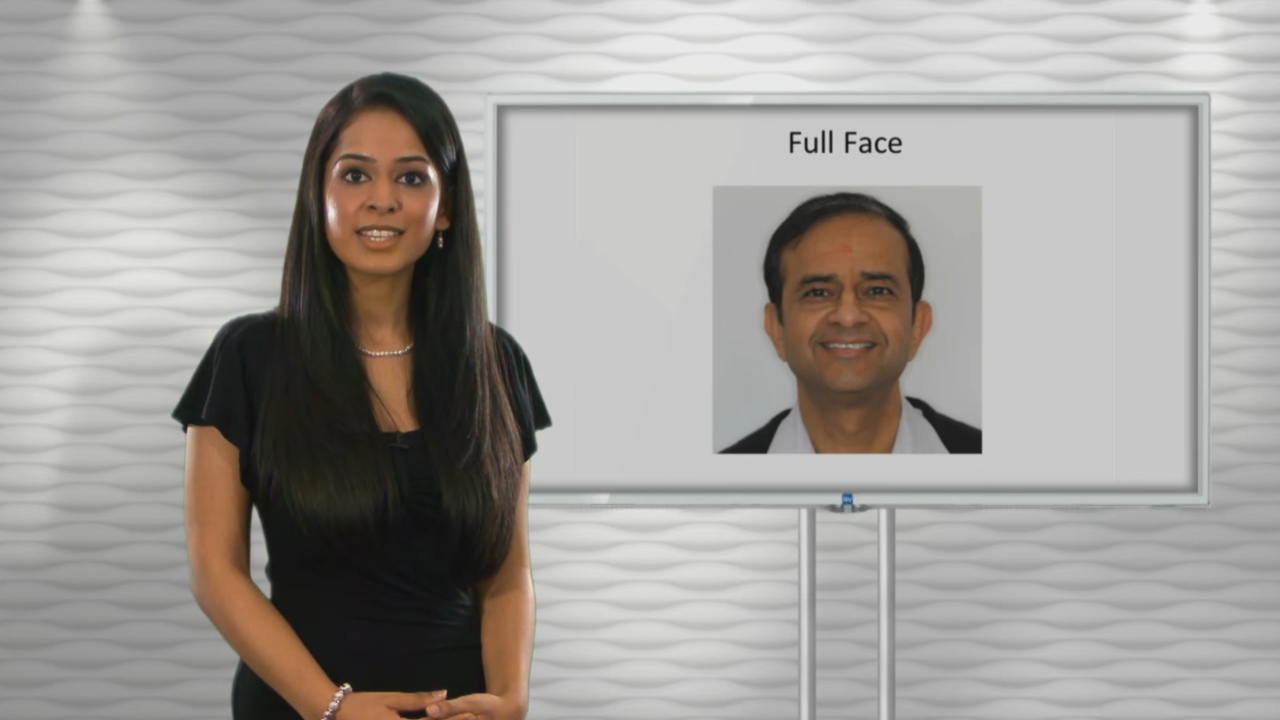
Okay, so now you’re ready to snap. Take some full-face shots first. Remove any glasses or distracting jewelry, pick a plain background, be level with the face, and ask the patient to look straight ahead. You may also want to take some natural full-face views. After that, I normally take a natural and a forced smile.
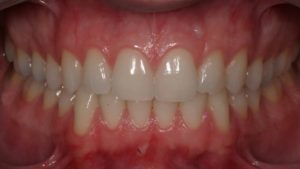
Following this are the intraoral shots. This can include anterior retracted, right and left buccal segments, or pruner occlusal, and any views of particular areas you may be interested in or treating.
Okay, I hope that’s enough to get you started. Photography is a skill in itself, but then, all you practice, the better you’ll get. Good luck!

